Overview
This guide walks users through the process of joining a Softdrive computer to a Microsoft Entra (Azure Active Directory) domain. By completing these steps, end users will be able to log in to their Softdrive PC using their existing Microsoft work or school credentials, enabling centralized identity management, MFA support, and compliance with your organisation's security policies.
Prerequisites
- Have a Microsoft tenant configured with Entra.
- Licensing required from Microsoft Entra.
- Have an existent user with credentials in AAD
- Have an admin account in Softdrive
Procedure
Step 1: Connect to the Softdrive computer.
Once the computer has been created in Softdrive dashboard, you can connect to it using the Softdrive Launcher.

Step 2: Initial configuration.
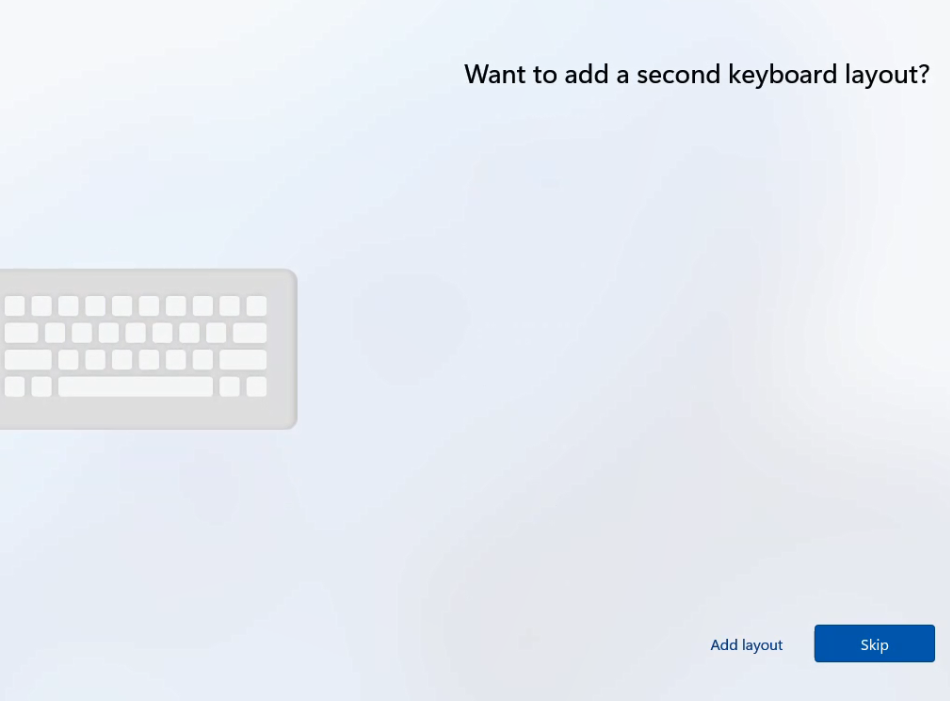
Choose the desired configuration settings in country, keyboard, secondary keyboard.


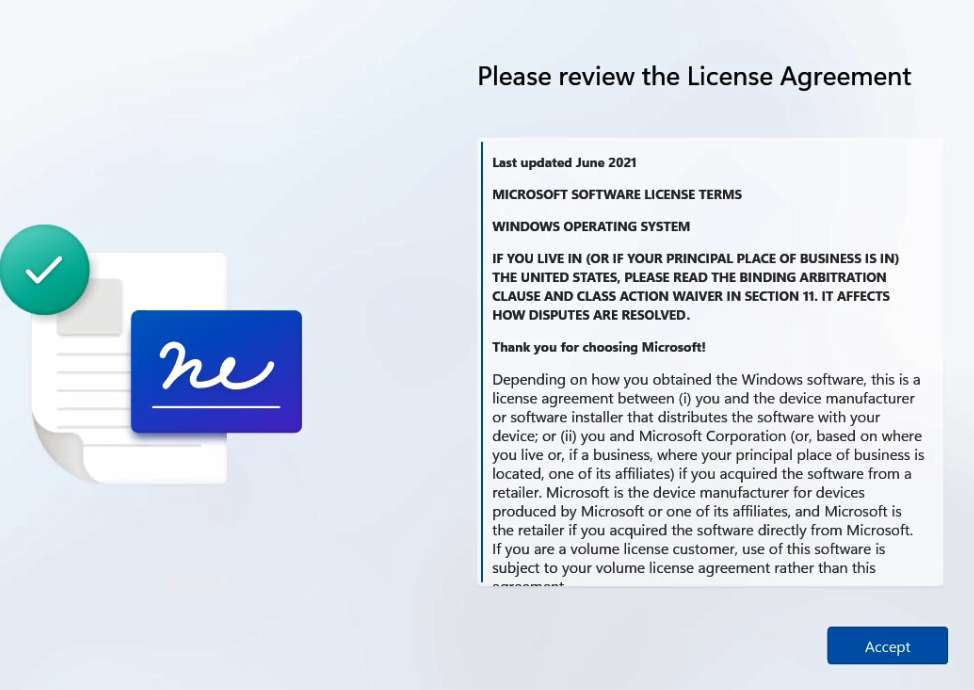
Accept the License Agreement.
Choose the desired name for the computer.

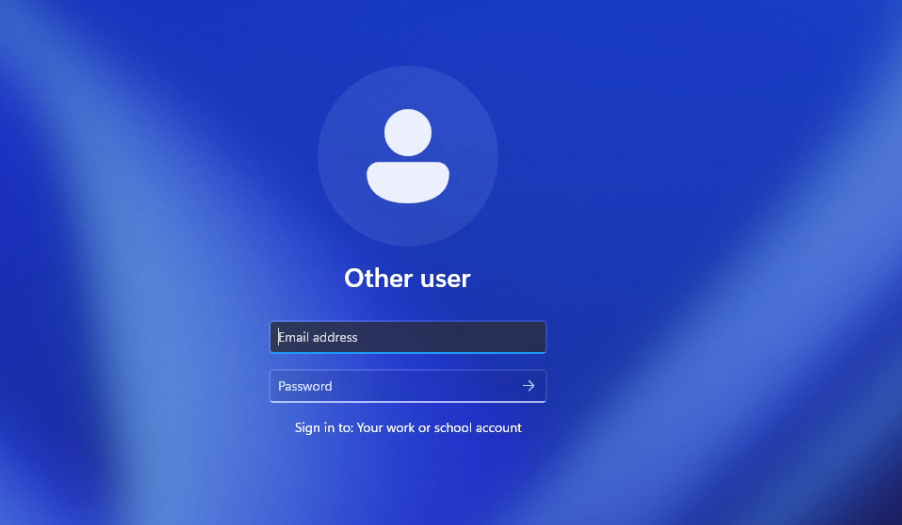
Step 3: Login to your work or school account
In this window choose the option that says "Set up for work or school"

Step 4 : Login with your microsoft user credentials.

Step 5: If user has MFA configured provide the number requested.

Step 6: Once Authenticated, it will take some time to set it up
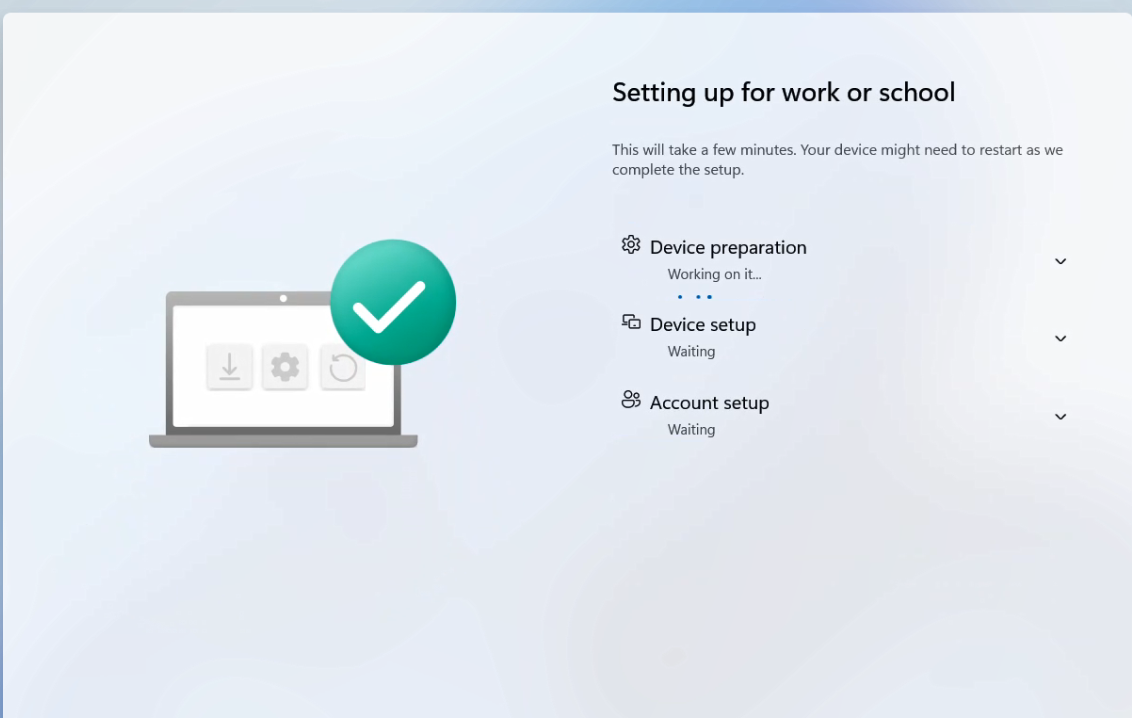
IMPORTANT: Make sure laptop is connected to the power, do not close the lid, do not shut down pc while this process is running.Step 7: Just wait on this screen.

Step 8: Click Accept.

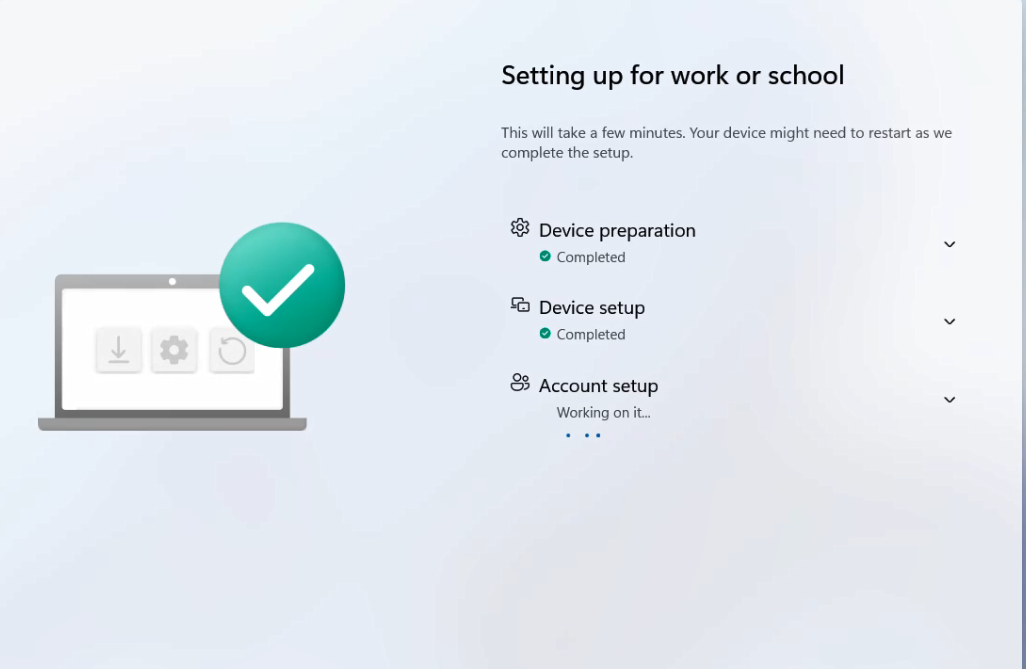
Step 9: When you see this screen all is done.
Step 10: Wait for the device configuration
Step 11: Hit OK to set up Windows Hello.
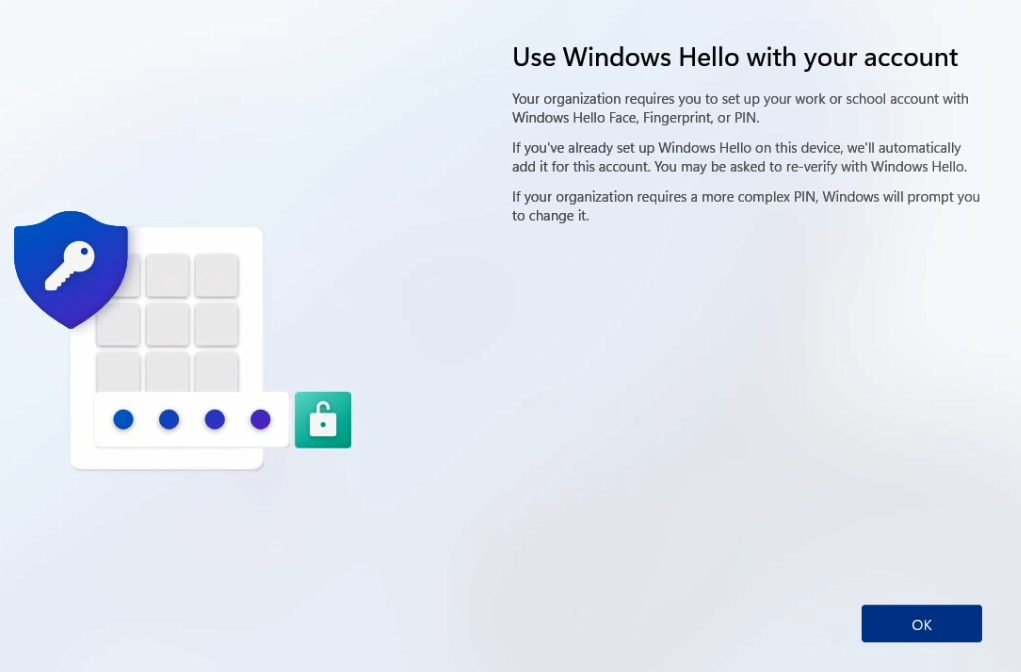
Step 12: Create your pin.

This needs to be done by the end user, not the IT department
Step 13: All set.
