Overview
This guide explains how to configure a Softdrive virtual PC (vPC) to join an on-premise Active Directory domain using a Site-to-Site VPN connection.
Applies To
- Softdrive Cloud PCs
- On-Premise Active Directory
- Site-to-Site VPN Environments
Prerequisites
- A Site-to-Site VPN tunnel is configured and operational
- Active Directory is installed and configured
- DNS is properly configured
- A domain administrator account is available
- An admin account exists in Softdrive
Procedure
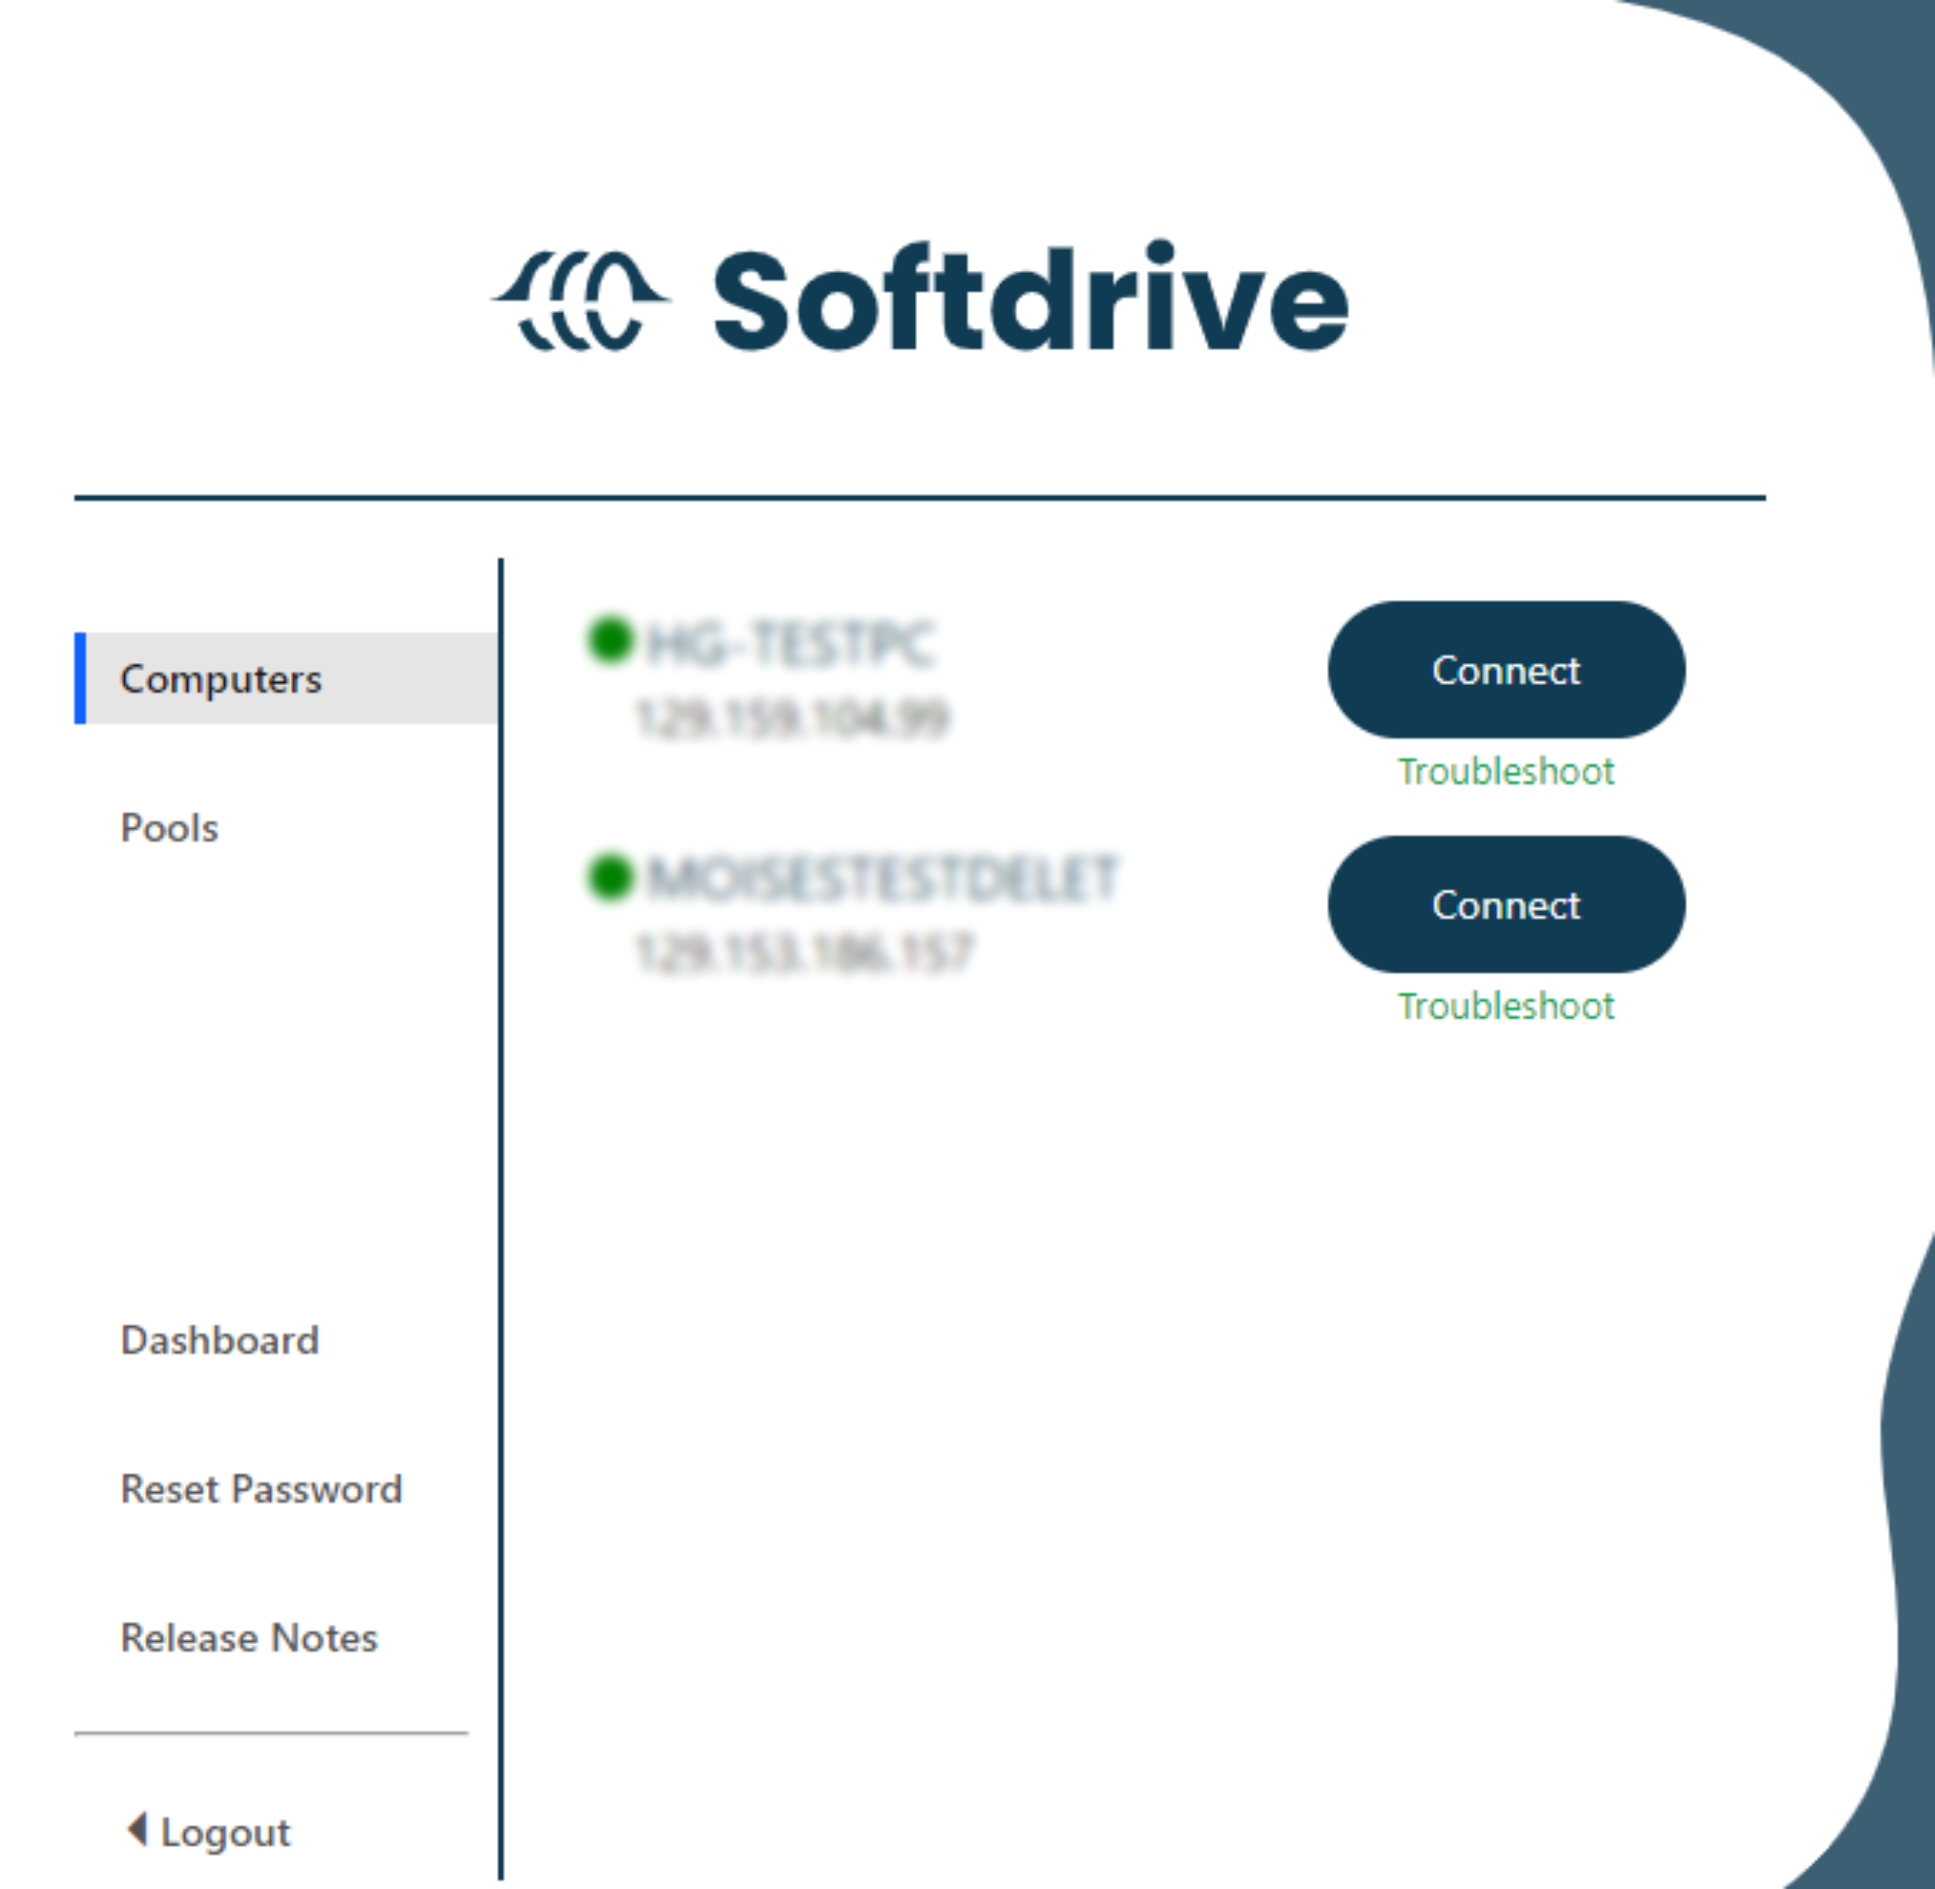
- Connect to the Softdrive vPC
- Create the vPC from the Softdrive dashboard
- Connect using the Softdrive launcher
- Complete initial Windows configuration
- Select region, keyboard layout, and optional secondary keyboard

- Accept the license agreement and set the computer name

- Select region, keyboard layout, and optional secondary keyboard
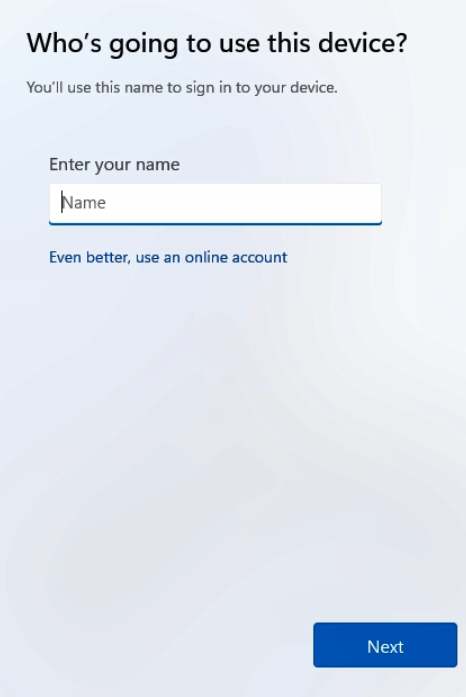
- Create a local administrator account
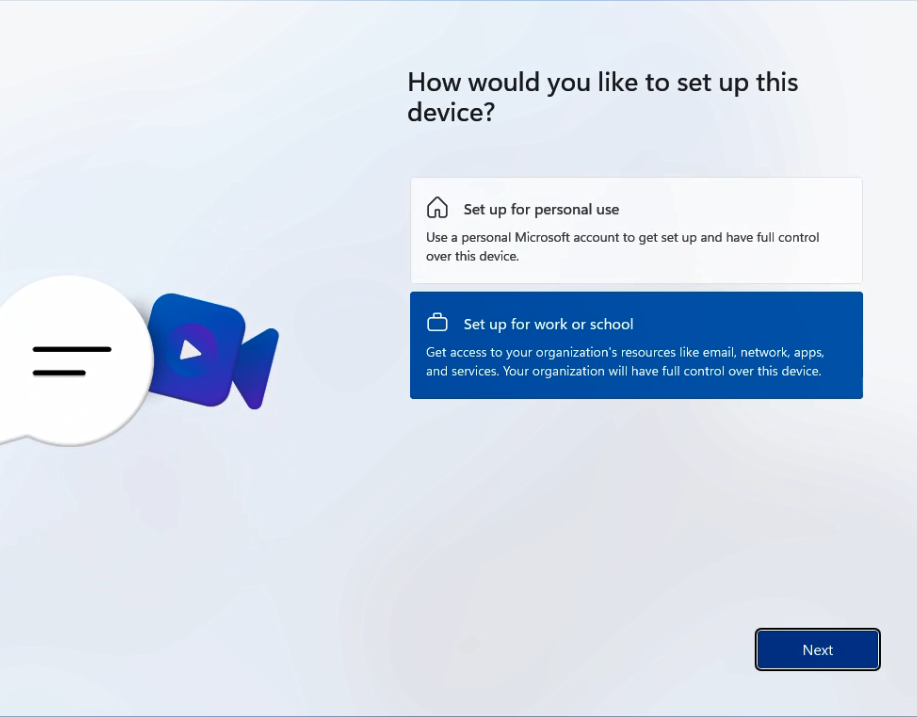
- Select "Set up for work or school"
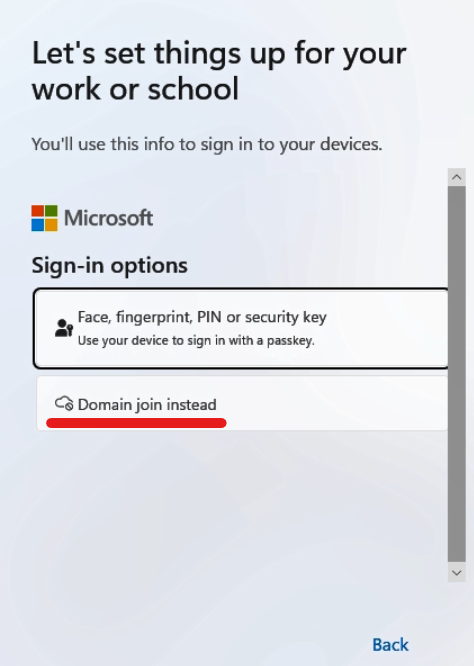
- Choose "Sign-in options" → "Domain joined instead"
- Enter local admin credentials and complete setup
- Allow Windows to complete updates
- Select "Set up for work or school"
- Join the vPC to the Active Directory domain
- Open Settings → System → About → Domain or workgroup
- Click "Join domain"
- Enter your domain name (example: corp.local)
- Provide domain administrator credentials
- Restart the machine when prompted
Expected Result
The Softdrive virtual PC is successfully joined to the on-premise Active Directory domain and users can log in using domain credentials.
Troubleshooting
- Ensure the Site-to-Site VPN tunnel is active and routing correctly
- Verify DNS is pointing to the domain controller
- Confirm domain credentials are valid
- If domain join fails, contact support@softdrive.co