Overview
The Softdrive Console allows administrators to rename a computer (hostname) directly from the dashboard. This is useful for keeping environments organized, applying internal naming conventions, or identifying machines by user, department, or purpose.
Important: The computer name change will only take effect after the computer is restarted.
Prerequisites
Changing the computer name from the Softdrive Console is supported only for the following computer types:
- Standalone computers
- Workgroup-joined computers
This action is not supported for domain-joined computers or Entra Joined computers.
Domain Joined computers
Computers that are joined to a domain (such as Active Directory or hybrid environments) manage their computer name through domain policies and directory services.
Renaming a domain-joined computer outside of domain management tools can result in authentication issues, trust relationship errors, or Group Policy inconsistencies.
For domain-joined computers, hostname changes must be performed using your organization’s domain administration procedures.
Content
Follow these steps to change a computer name
1) Log in to the Softdrive Dashboard
- Open a web browser and go to:
https://softnet.softdrive.co/ - Log in using your administrator credentials.
2) Locate the Computer
- Navigate to the Computers tab.
- Use the Search option to find the computer..
- Click the computer to open its Details page.
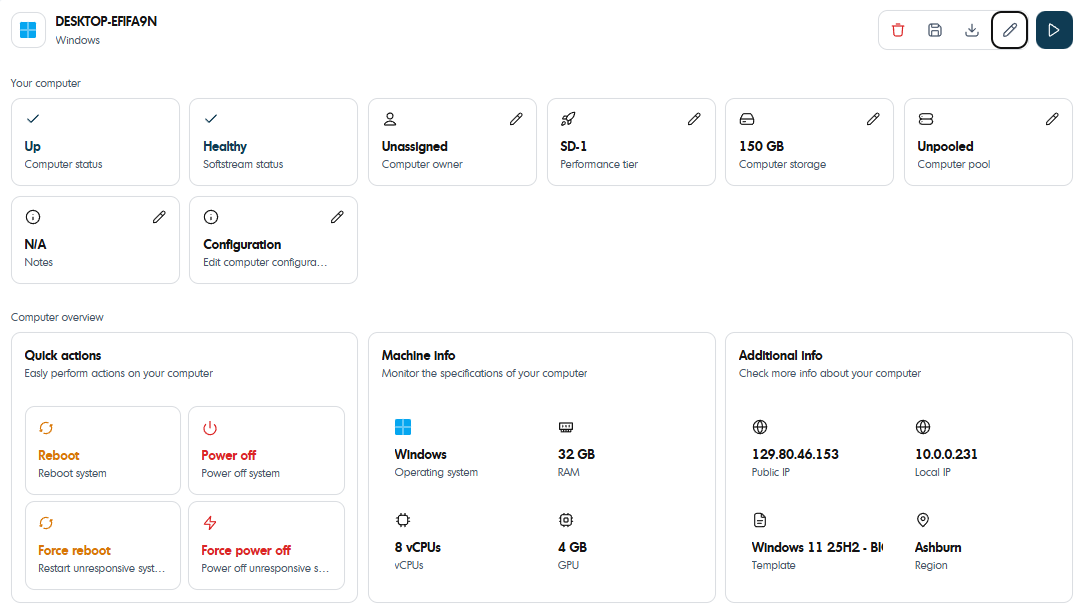
3) Open Change Hostname Settings
- On the Computer Details page, locate the Edit button on the top right hand side.

4) Change the hostname
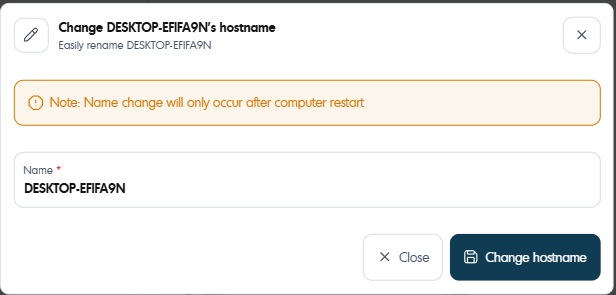
4) Restart the computer to apply the change.
Best Practices
- Use clear and consistent naming conventions.
- Avoid spaces and special characters in computer names.
- Schedule the restart during a maintenance window to avoid interrupting users.
- Verify whether a computer is domain-joined before attempting to rename it.