Overview
This guide explains how to configure Softdrive virtual PCs (vPCs) using a workgroup instead of a domain. It includes steps for initial setup, enabling network sharing, and configuring shared drives between machines.
Applies To
- Softdrive Cloud PCs
- Windows 10
- Windows 11
- Workgroup environments
Prerequisites
- Windows 10 or Windows 11 installed
- Local administrator credentials available
Procedure
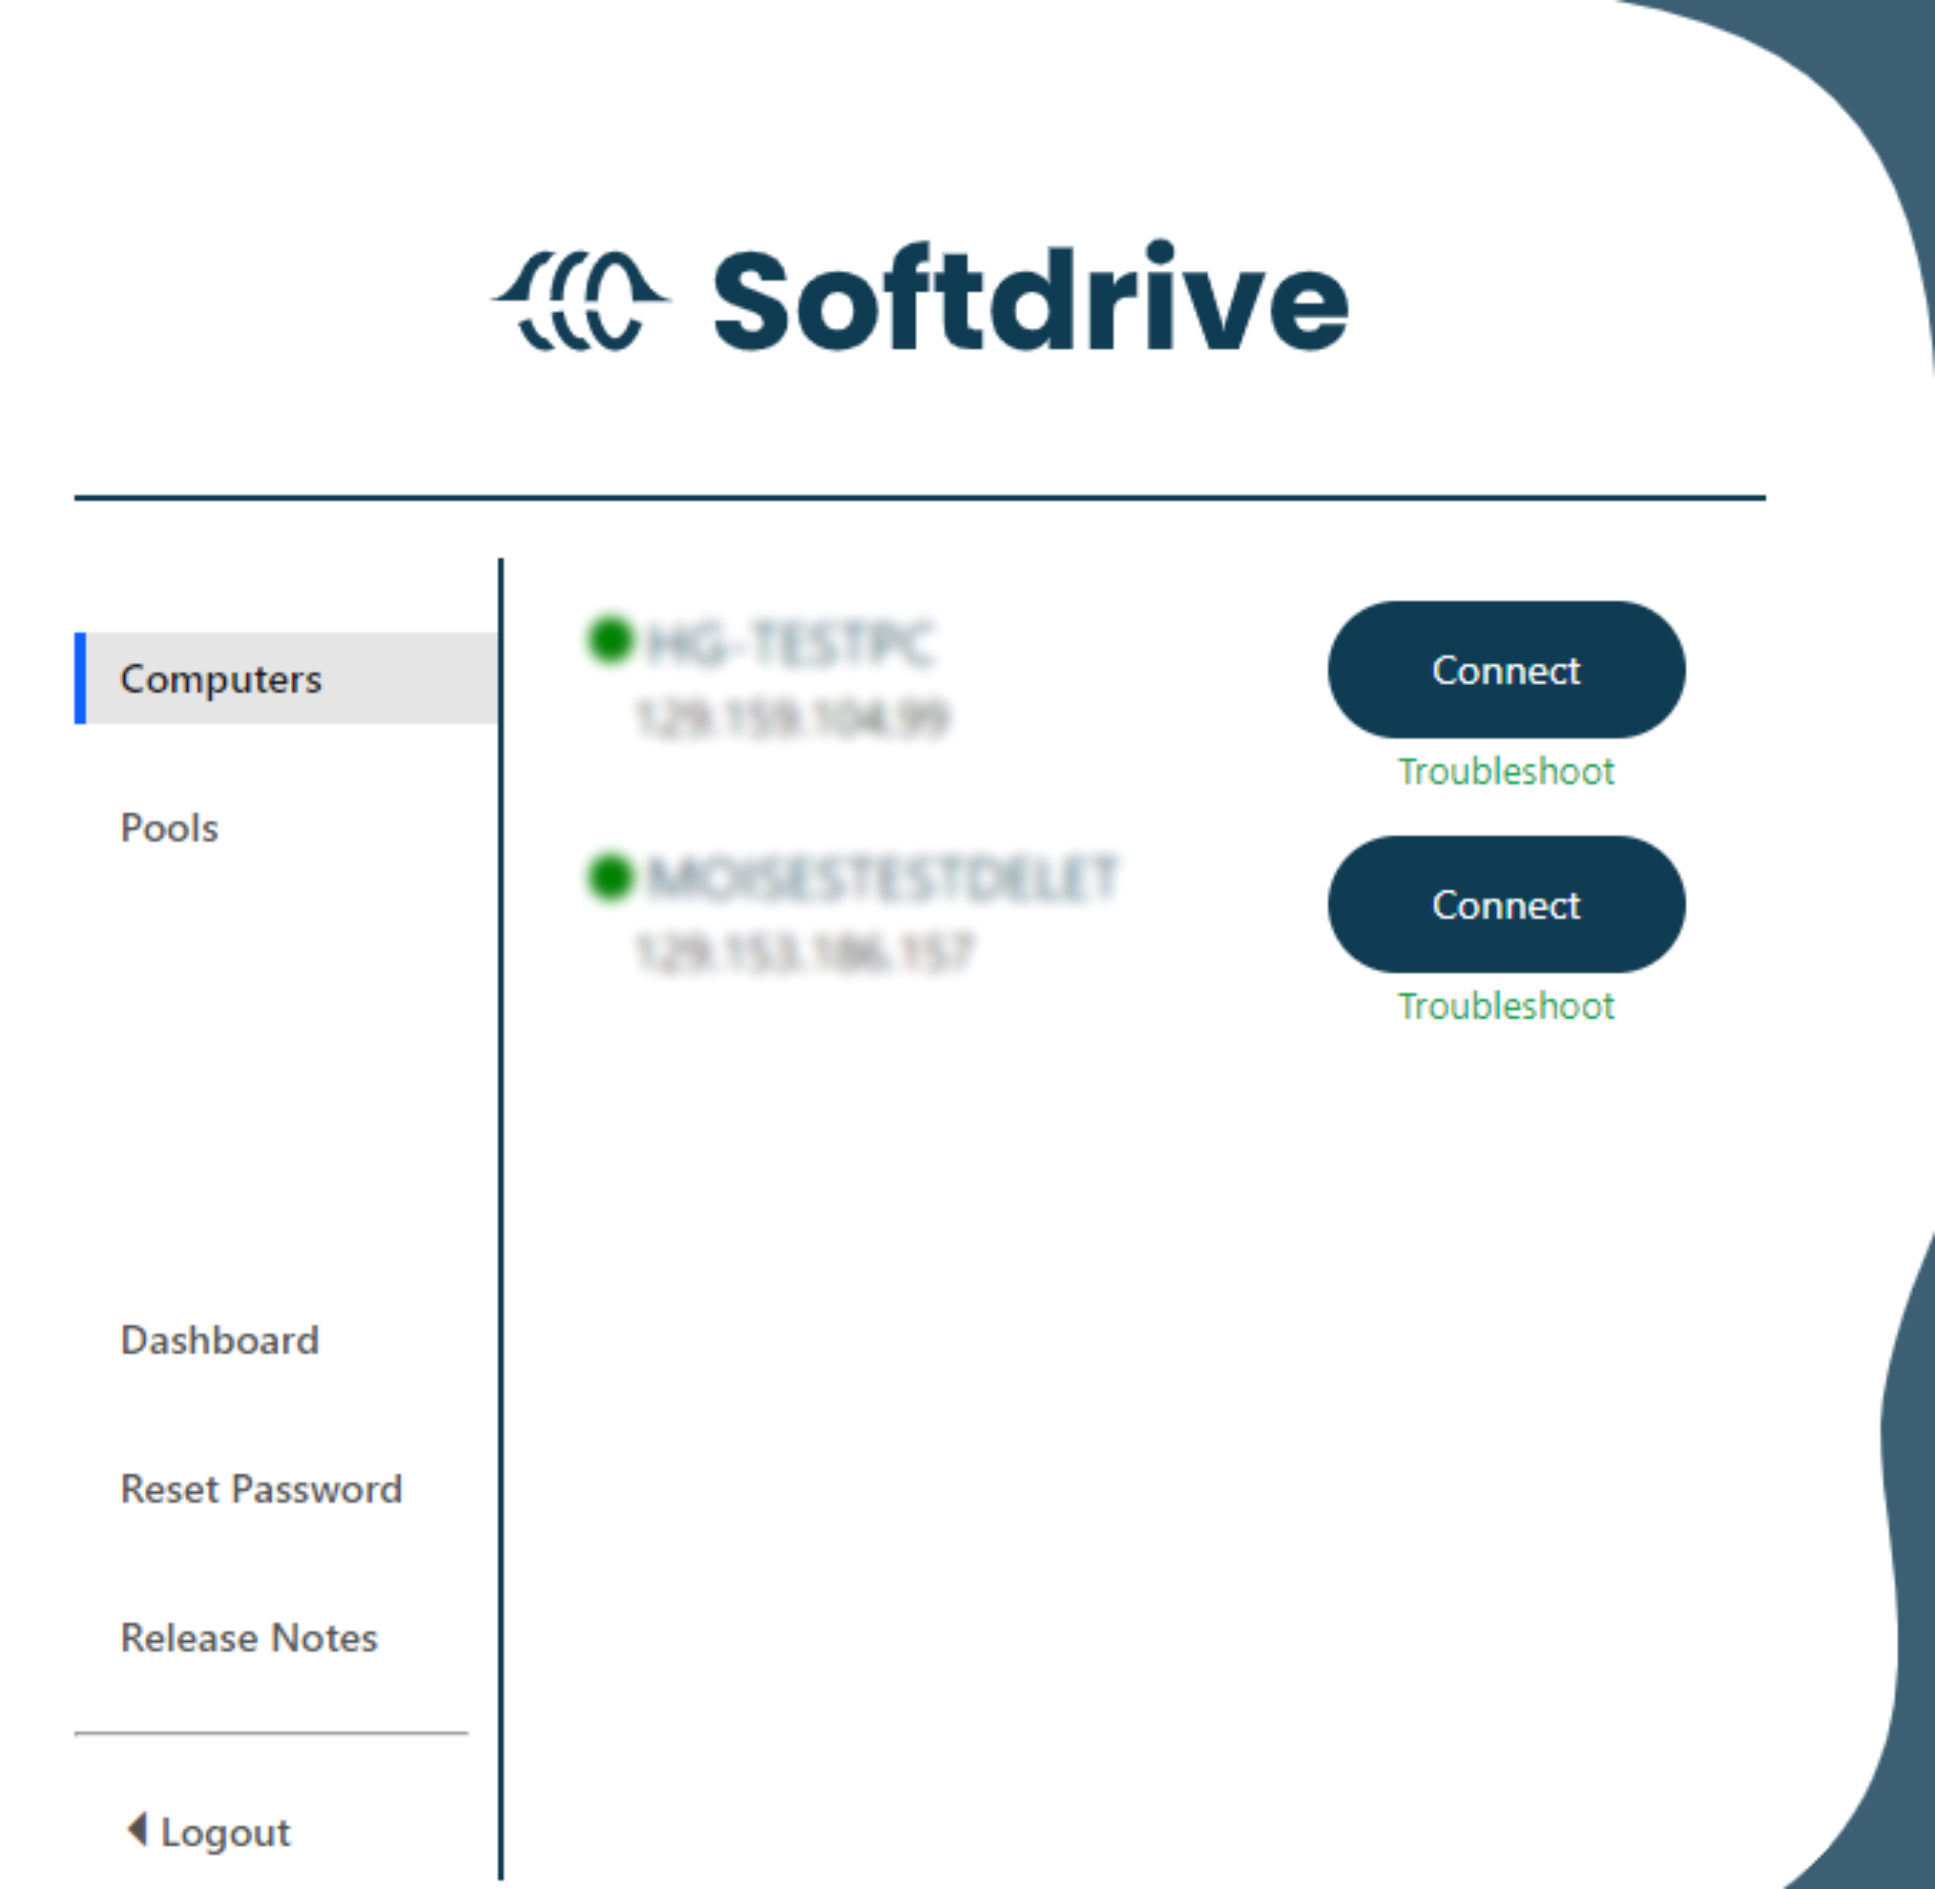
- Connect to the Softdrive vPC
- Create the computer in the Softdrive dashboard
- Connect using the Softdrive launcher
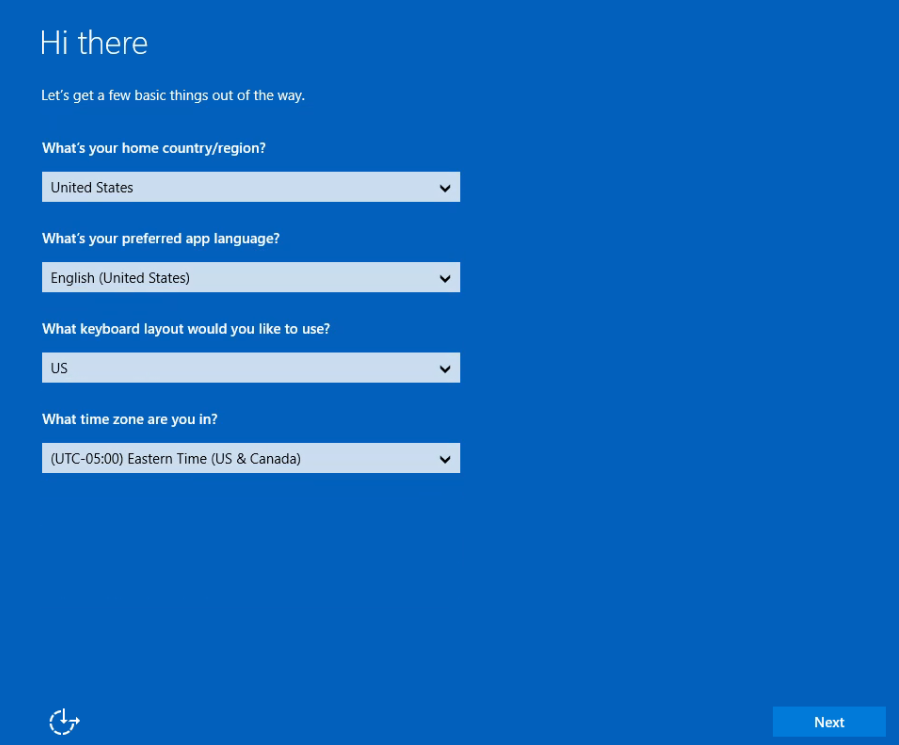
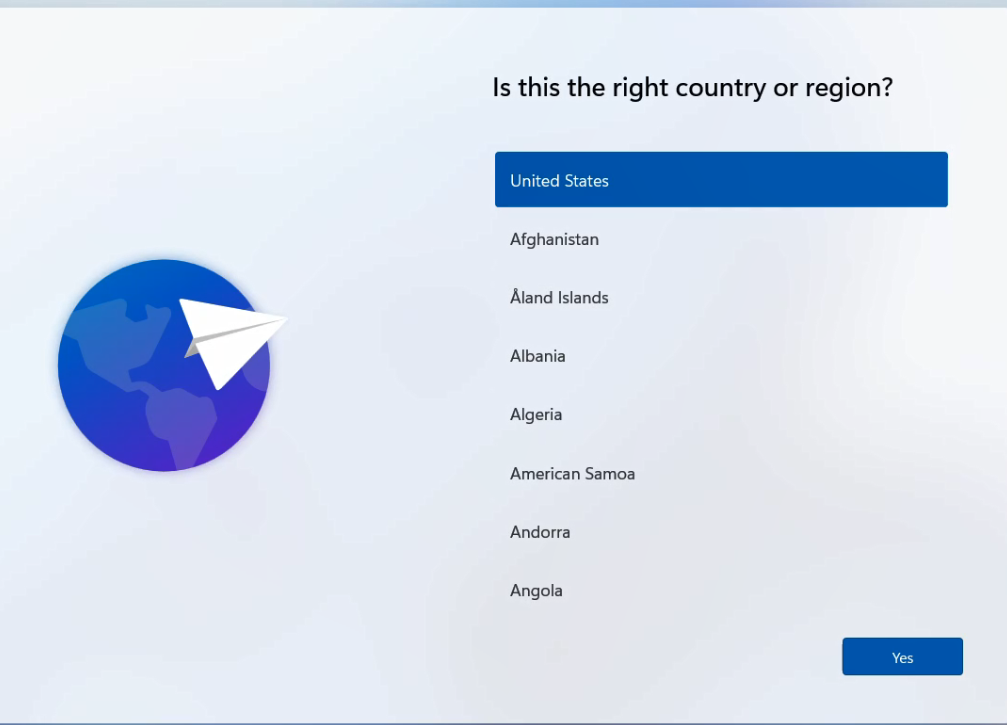
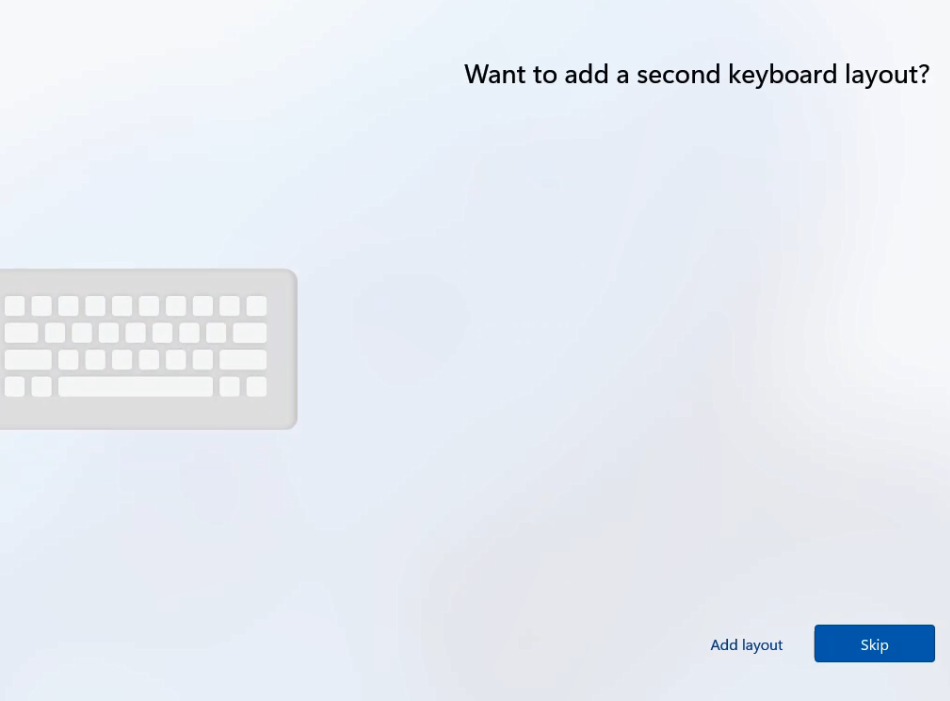
- Complete initial Windows configuration
- Select region, keyboard layout, and additional preferences

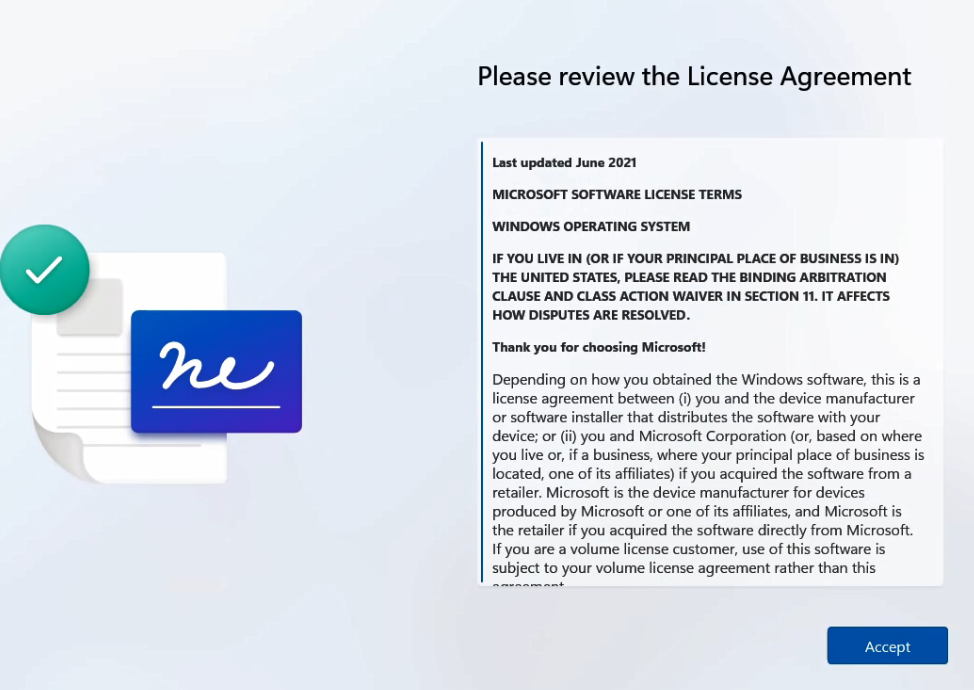
- Accept the license agreement
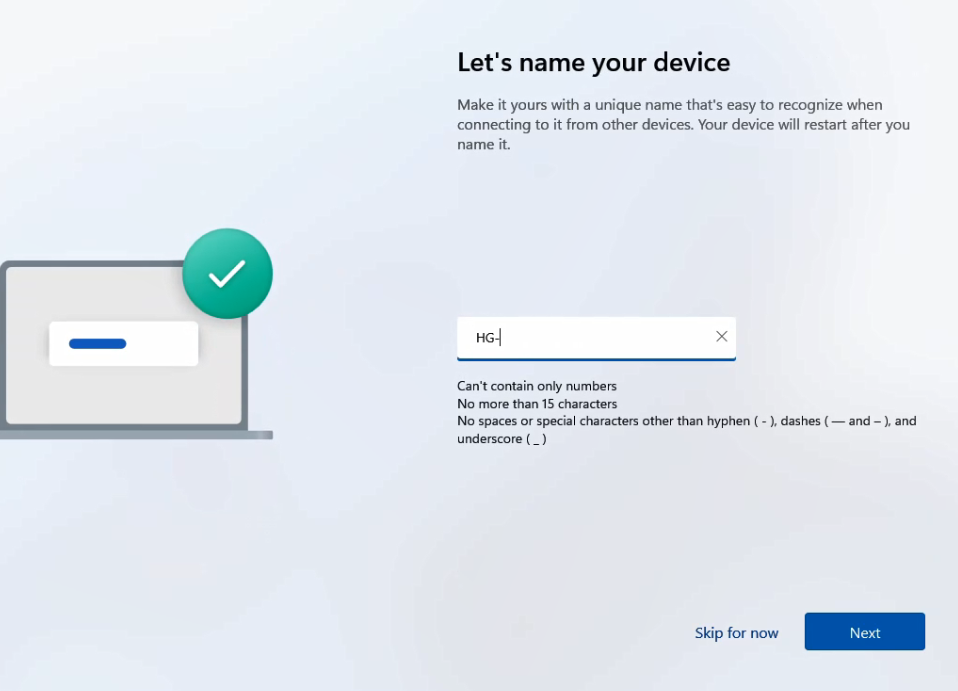
- Set the desired computer name
- Select region, keyboard layout, and additional preferences
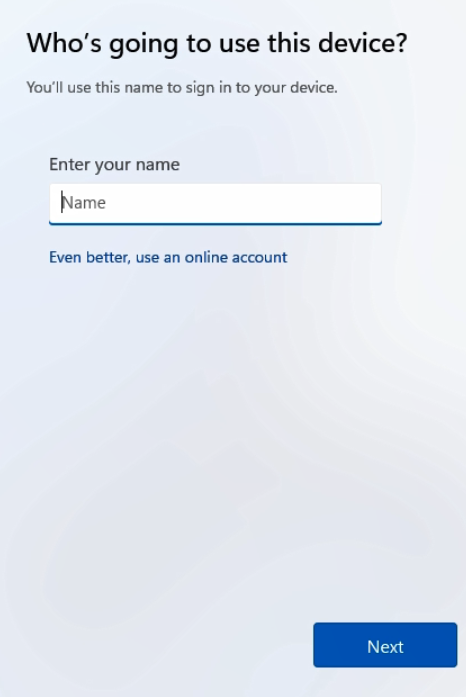
- Create a local administrator account
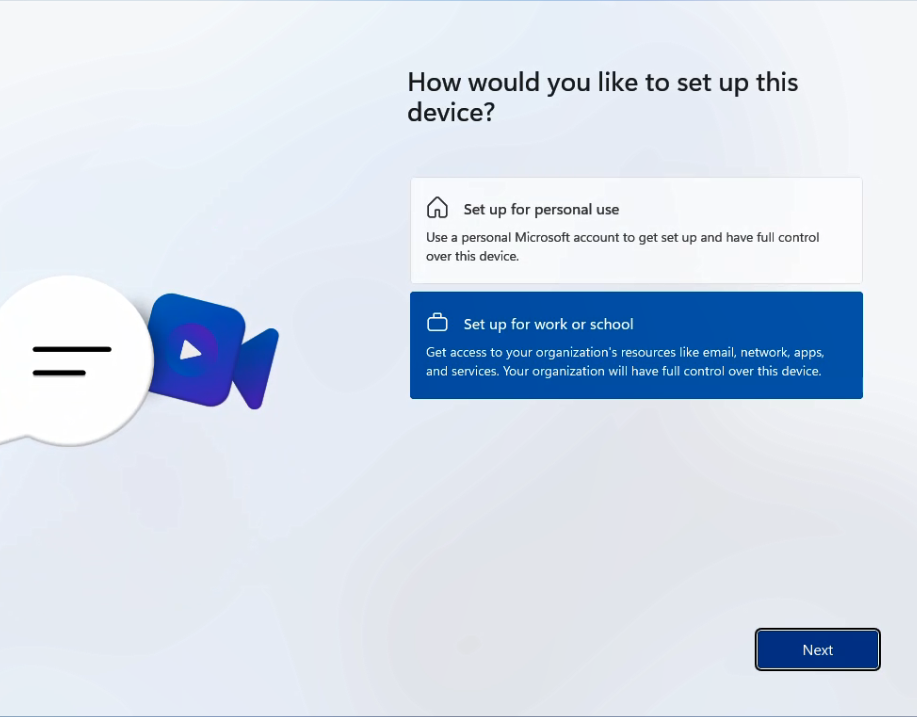
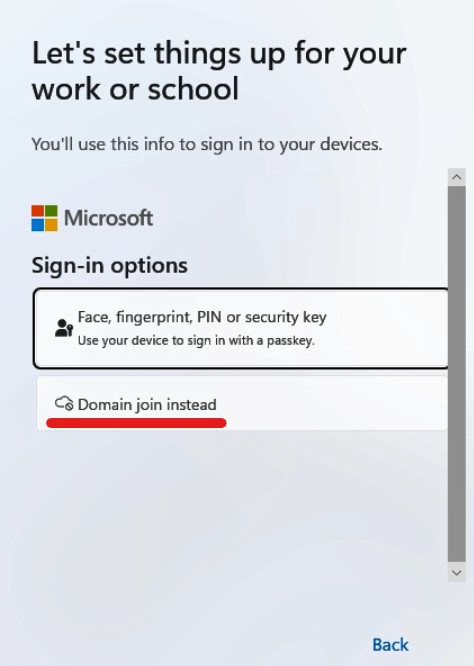
- Select "Set up for work or school"
- Choose "Sign-in Options"
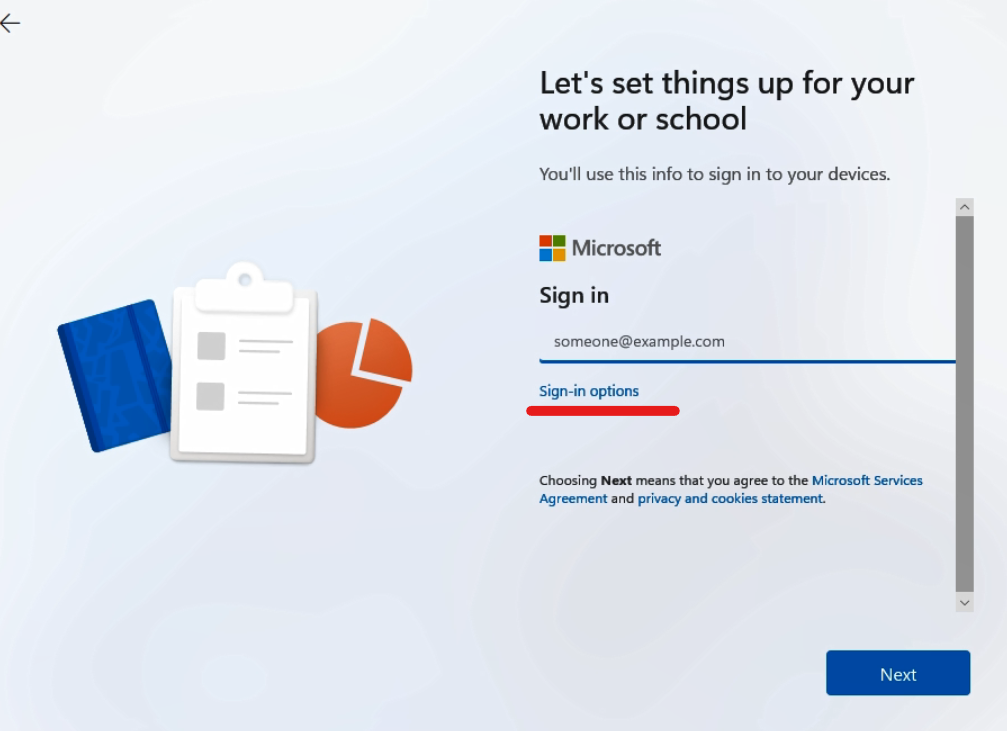
- Select "Domain joined instead" to create a local account
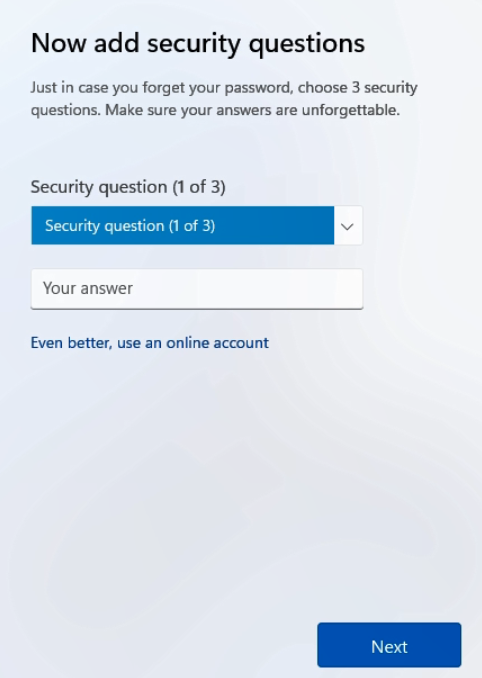
- Enter username, password, and security questions
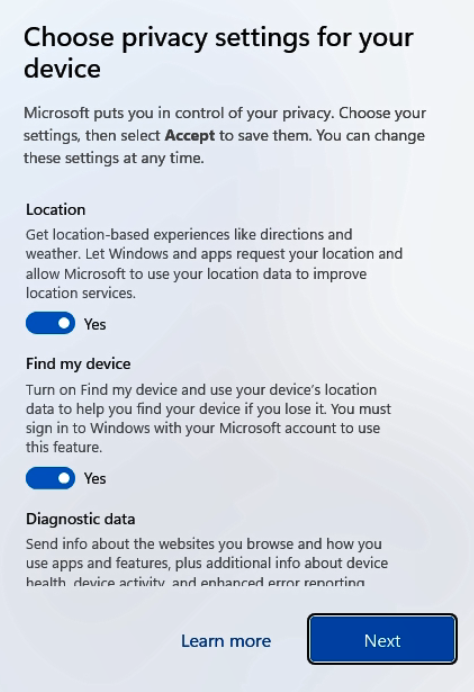
- Accept privacy settings and allow Windows updates to complete
- Select "Set up for work or school"
- Join the computer to a workgroup
- Press Win + R → type sysdm.cpl → press Enter
- Go to the Computer Name tab → click Change
- Select Workgroup and enter a name (example: OFFICENET)
- Restart the computer when prompted
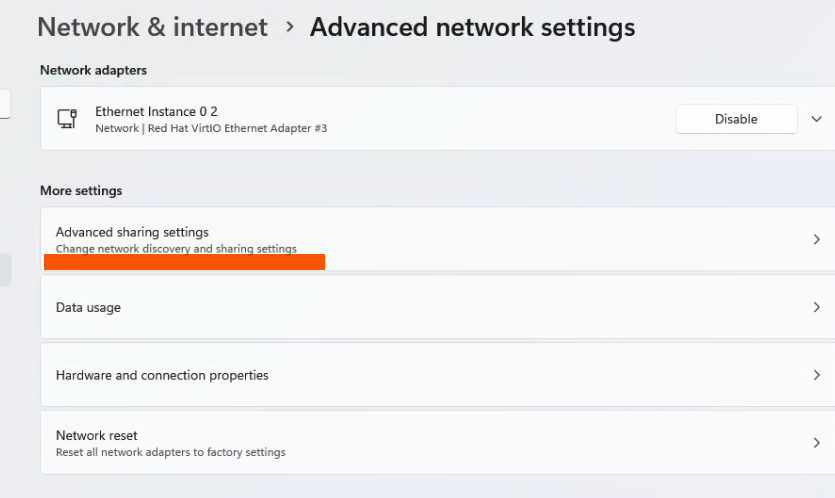
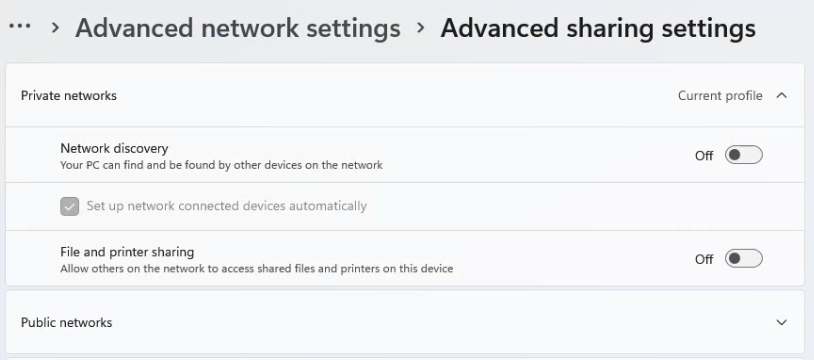
- Configure network sharing
- Open Control Panel → Network and Sharing Center
- Click Change advanced sharing settings
- Enable network discovery and file and printer sharing
- Optionally disable password-protected sharing if needed

- Create identical users on each computer
- Create the same username and password on each machine
- Settings → Accounts → Other users → Add account
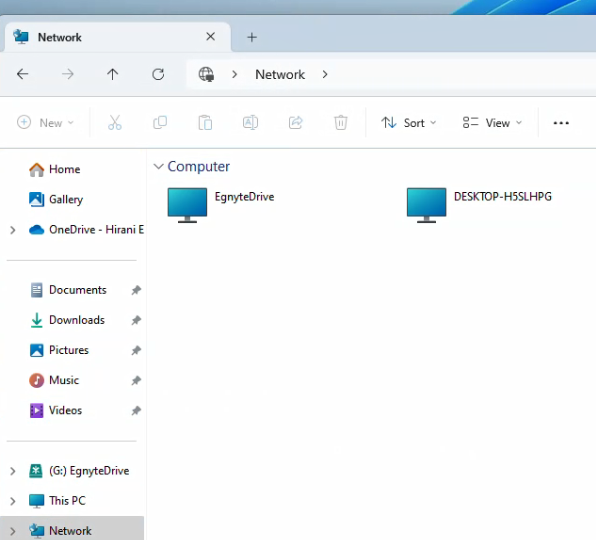
- Test connectivity
- Open File Explorer → Network
- Verify that other machines are visible
- Configure shared drive (optional)
- Create a shared folder on the main machine (for example in C:\)

- Create a shared folder on the main machine (for example in C:\)
- Map the shared drive on client machines (optional)
- Open File Explorer → This PC → select Map network drive

- Open File Explorer → This PC → select Map network drive
Expected Result
Softdrive vPCs are successfully configured in a workgroup, allowing file sharing and connectivity between machines.
Troubleshooting
- Ensure all machines use the same workgroup name
- Verify network discovery is enabled
- Check firewall settings if machines are not visible
- If issues persist, contact support@softdrive.co