Prerequisites
- Have a Microsoft tenant configured with Entra.
- Licensing required from Microsoft Entra.
- Have an existent user with credentials in AAD
- Have an admin account in softdrive
Steps to configure a softdrive pc with Azure Active Directory
Step 1: Connect to the softdrive computer.
Once the computer has been created in softdrive dashboard, you can connect to it using the softdrive app.

Step 2: Initial configuration.
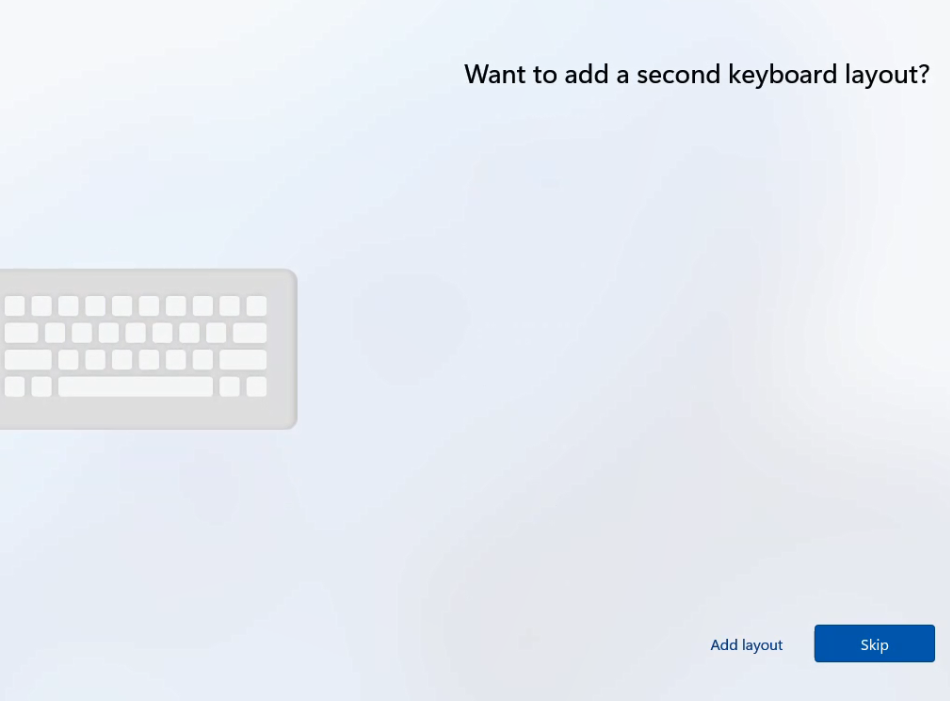
Choose the desired configuration settings in country, keyboard, secondary keyboard.


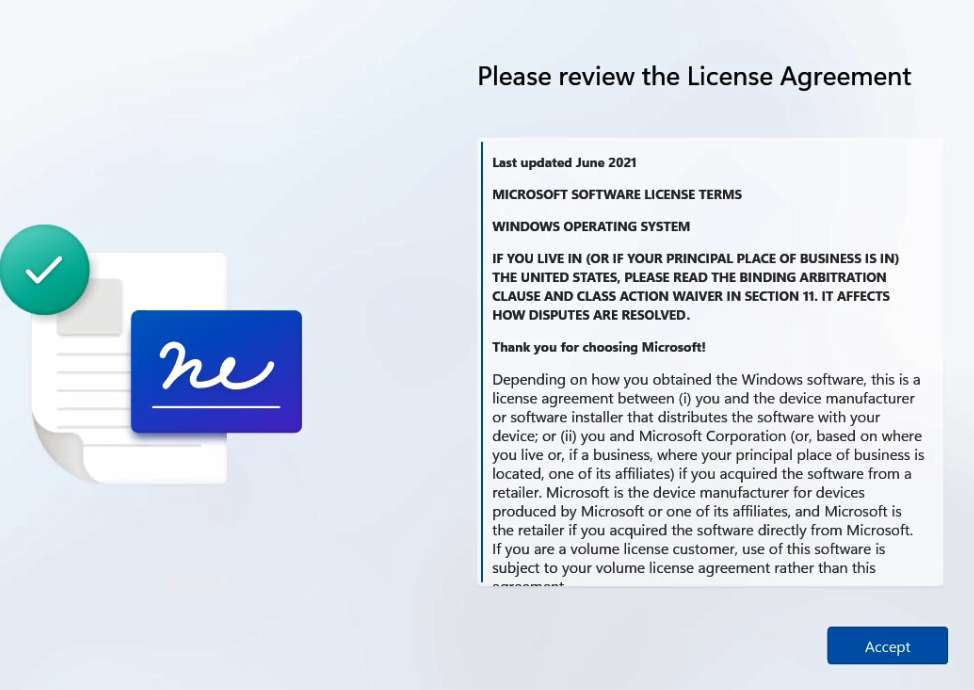
Accept the License Agreement.
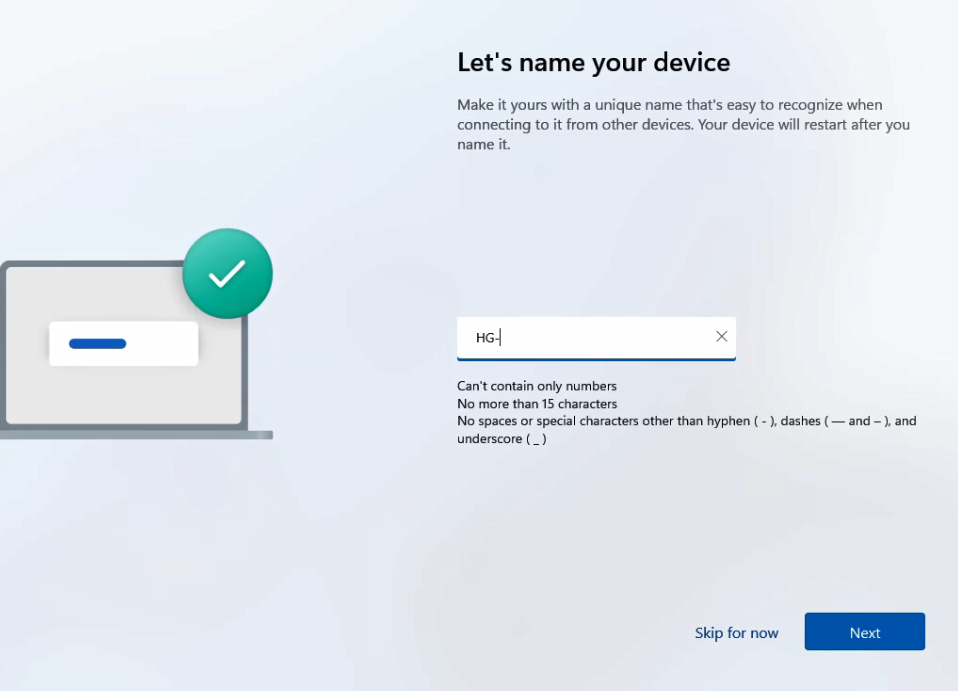
Choose the desired name for the computer.
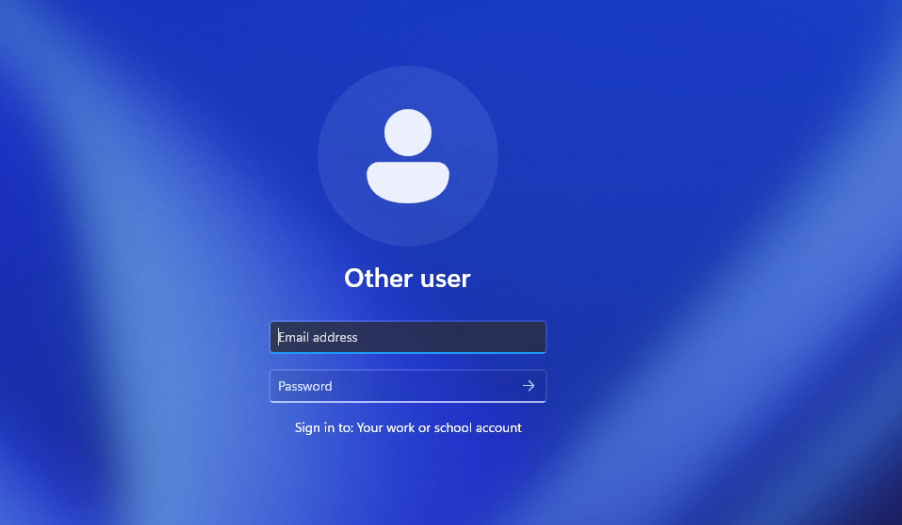
Step 3: Login to your work or school account
In this window choose the option that says "Set up for work or school"

Step 4 : Login with your microsoft user credentials.

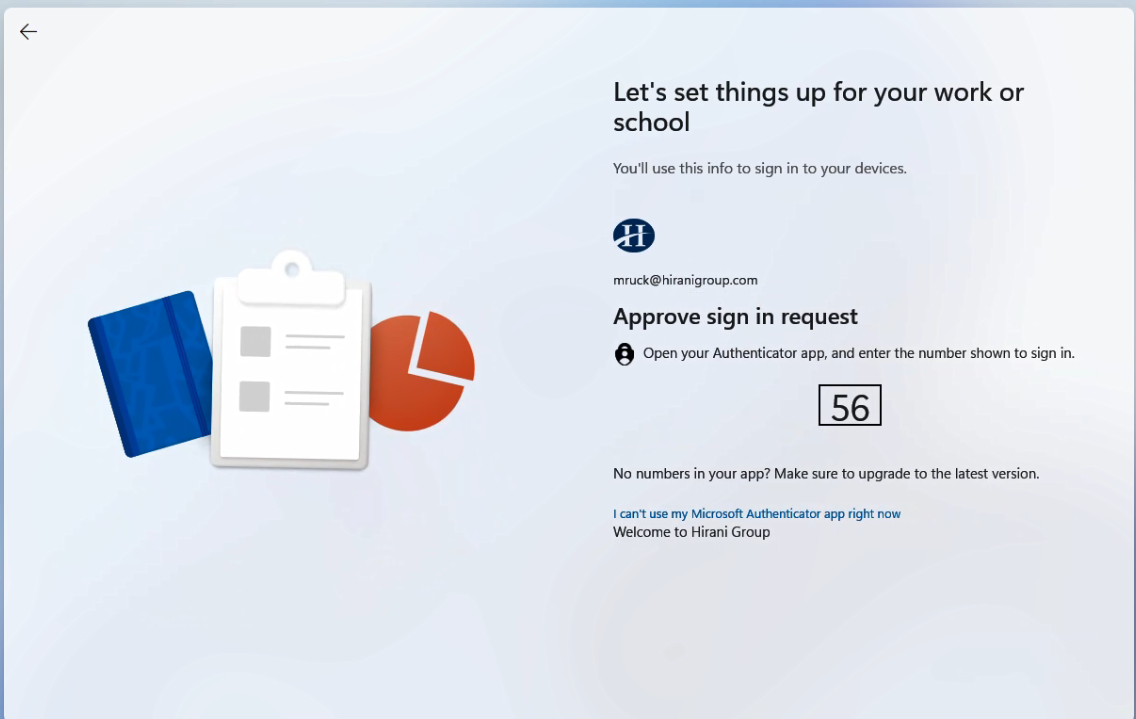
Step 5: If user has MFA configured provide the number requested.
Step 6: Once Authenticated, it will take some time to set it up
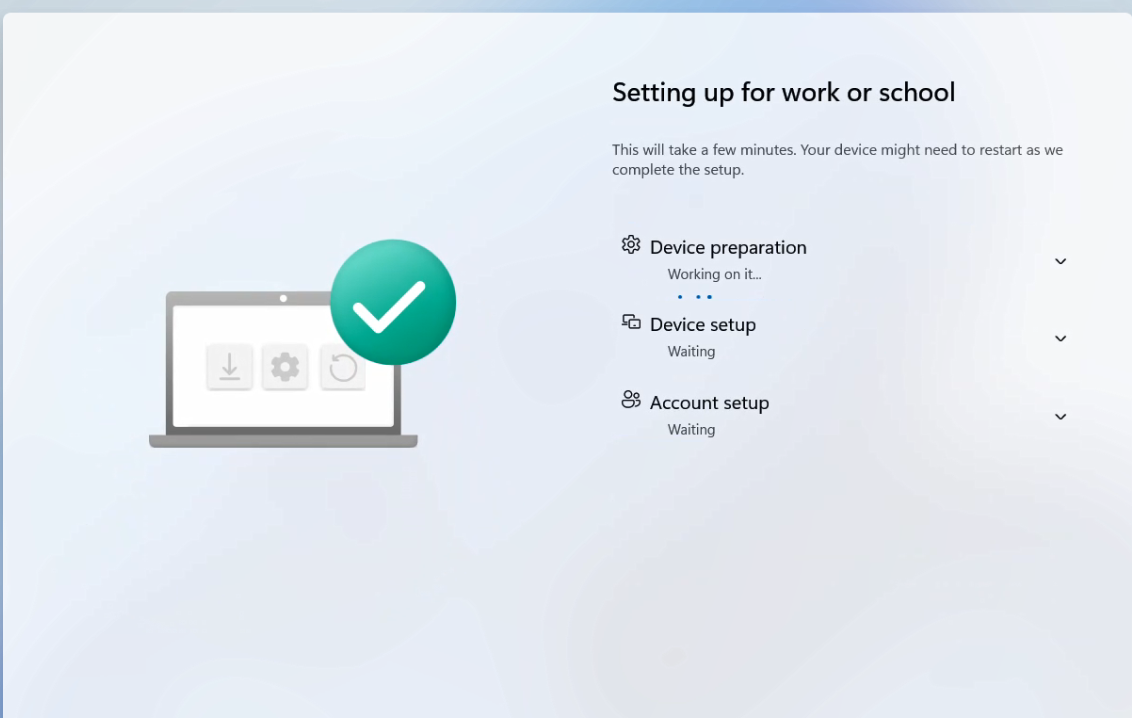
IMPORTANT: Make sure laptop is connected to the power, do not close the lid, do not shut down pc while this process is running.
Step 7: Just wait on this screen.

Step 8: Hit Accept.

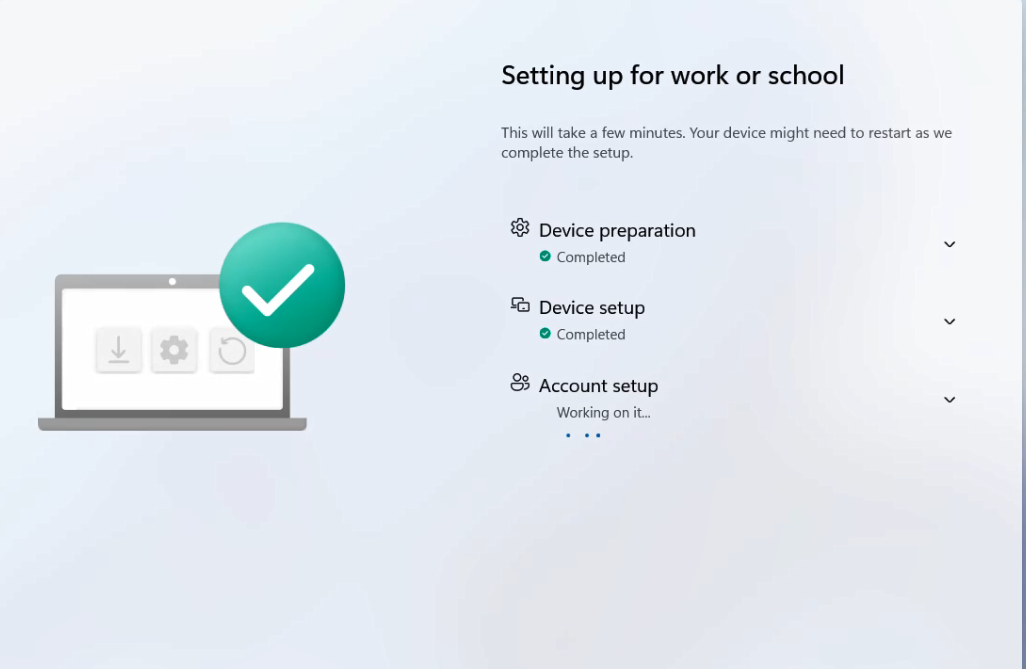
Step 9: When you see this screen all is done.
Step 10: Wait for the device configuration
Step 11: Hit OK to set up Windows Hello.
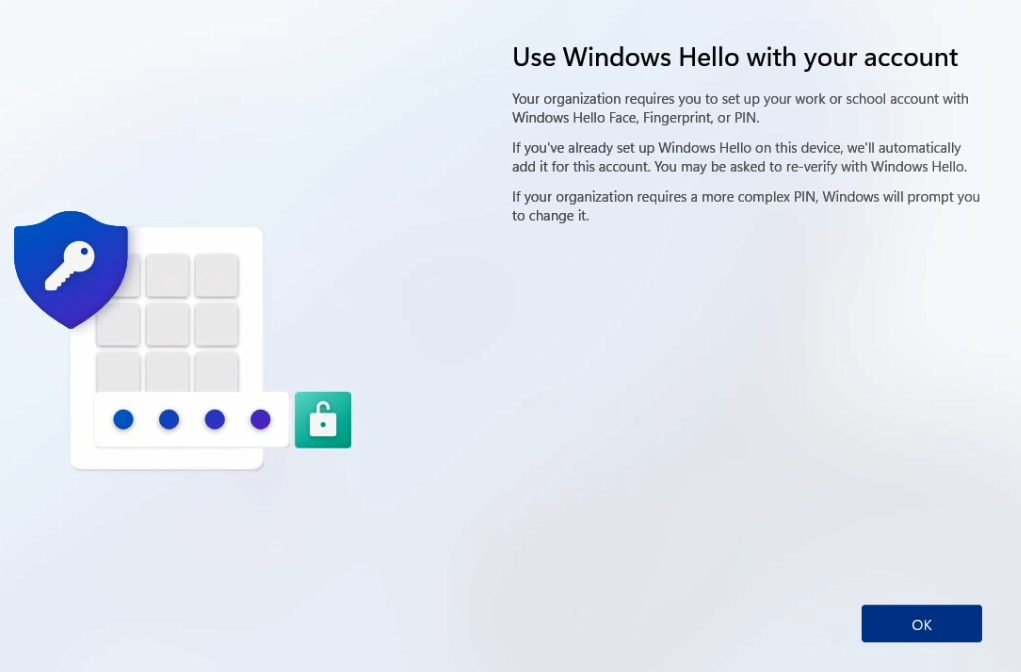
Step 12: Create your pin.

This needs to be done by the end user, not the IT department
Step 13: All set.
